Earring Holders and Headband Holders (Kind of sorta)

Standard

We were on accessory mode this week and decided to make DIY earring holders and headband holders. It did not go exactly as planned, but I think in the end both Kayla’s were pleased with their results.

The earring holder was made from a picture frame, plastic mesh found at Micheal’s, and hot glue. To decorate, we got self-adhesive pearls and gems.

The Supplies:

KH’s                                                                                                                                                                                                                           

*KH’s supplies changed a little by the end as she wasn’t liking the way the earring holder was looking.

KD’s

You will need:

A picture frame (found at Micheal’s for $15 each)
Oatmeal container ($2 at Target)
Plastic mesh ($1 at Micheal’s)
Candle holder ($7 at Micheal’s)
Scrapbook paper (60 cents each at Micheal’s)
Gems, beads, pearls, and anything else you would like to use to decorate (we found some great self-adhesive gems and pearls at Micheal’s that were relatively cheap, around $2 per sheet)
Hot glue & glue gun
Scissors

How To

Start off by cutting the mesh down to fit your frame properly.

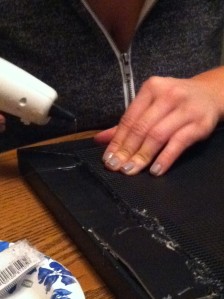
Then glue the mesh onto the frame using the hot glue. This step gets HOT! After burning our fingers, we used a knife to push the glue properly to the frame.

Let the glue dry for 2 minutes, and then flip it over to begin decorating.

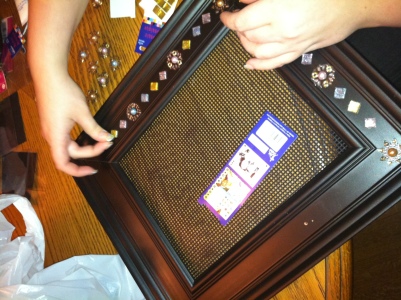
As you can see this is where KH changed supplies. She decided to use different decorations on her earring holder.

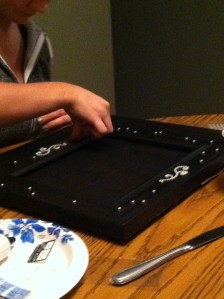
KD picked pearls to use on her frame.


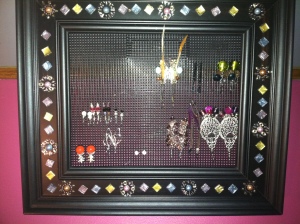
Results:

For the headband holders, we realized once we were done decorating them that we used the wrong size oatmeal containers and they were too small to hold a headband. Ooops! KH turned her’s into a bank while KD is using her’s to store nail supplies (filers, clippers, nail polish remover, etc etc.)

We did not take pics of the steps being completed (oops again) but the process is very simple.

1. Take scrap book paper and cut it to fit your container. If your paper is too tall to go around the whole container, use two overlapping pieces in the back.

2. Add gems, beads, or any other decorations. If you have extra gems laying around from the earring holder here is a good place to put them to use!

3. Voila! Uou now have a cute container to hold misc. items (or if you use the correct bigger oatmeal containers, you have a headband older)!

See you next week! I think both of us are very excited for what we have in store to make!

♥ The Kayla’s

Jumping In: Homemade Bath Salts

Standard

For our first week we decided to make bath salts! KD is giving them to her 9 co-workers as a belated-Christmas gift next week. We started super simple, and these are such a cute and easy way to start crafting!

Instead of going to buy these at for $20 a bottle at stores, we recommend making them… way worth it!

Supplies:

You will need

Epsom Salt
Baking Soda
Food Coloring
Essential Oils (in your preferred scents)
Small Containers of your choosing (we bought glass)
Ribbon (optional, but cute)

We went to Micheal’s to get the essential oils, small glass jars, and the ribbon. After purchasing 9 jars for 99 cents each, 2 reels of ribbon on sale, and 3 essential oil scents, the price came to ~$25. We headed to Target to grab the food coloring, baking soda, and Epsom salt. We spent $14 there.

How To

Step 1: The amount of Epsom salt and Baking Soda you use will depend on how many containers you have and how much bath salt you would like to make. To start we recommend using about 2 cups of Epsom Salt, and 4 TBSP of baking soda. Combine in a bowl and stir together.

Step 2: Take the essential oil and drop 4 or 5 drops into the Epsom/Baking Soda mix. You can determine how potent you want the smell to be and add more or less for your liking.

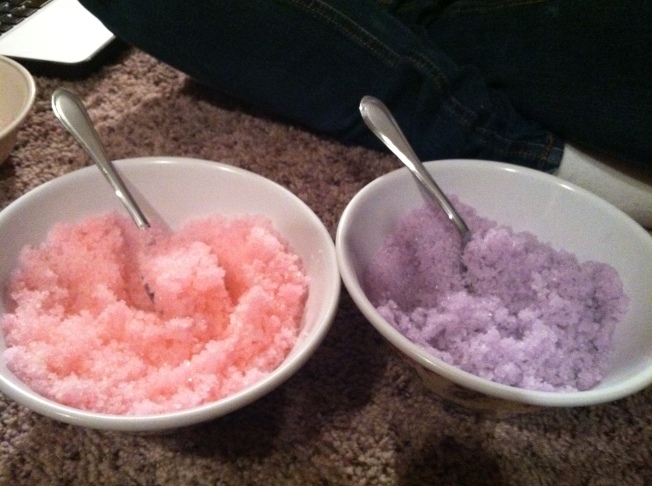
Step 3: Choose your color and add drops of food coloring to a small amount of water. Pour the water into the mixture (only pour a little at a time, mixing it all the way through to ensure you are getting the right color you want). Make sure not to add too much water into the Epsom salt as it will start to clump.

Step 4: Pour the bath salt into the containers. Depending on your containers you may need a funnel. You’ll probably want to make/find a better funnel than this make-shift one that kept falling apart!

Step 5: Once you have your bath salt poured in the bottles, you can wipe them off. If you would like to add a little more flare tie some ribbon around the neck of the bottle. Voila, you are all finished! It’s THAT easy!

The Result

Super cute, fun, and so easy to do! These make great inexpensive gifts, or you can make them for yourself. Happy bathing!

Optional but definitely recommended: Make these with your best friend, with pizza and wine close by! It makes doing this so much more enjoyable! 🙂

See you next week!

♥ The Kayla’s